
 114
114
If you need to add a new location to your system, you can do this easily from within your ATS settings. Below is a step-by-step guide to help you through the process.
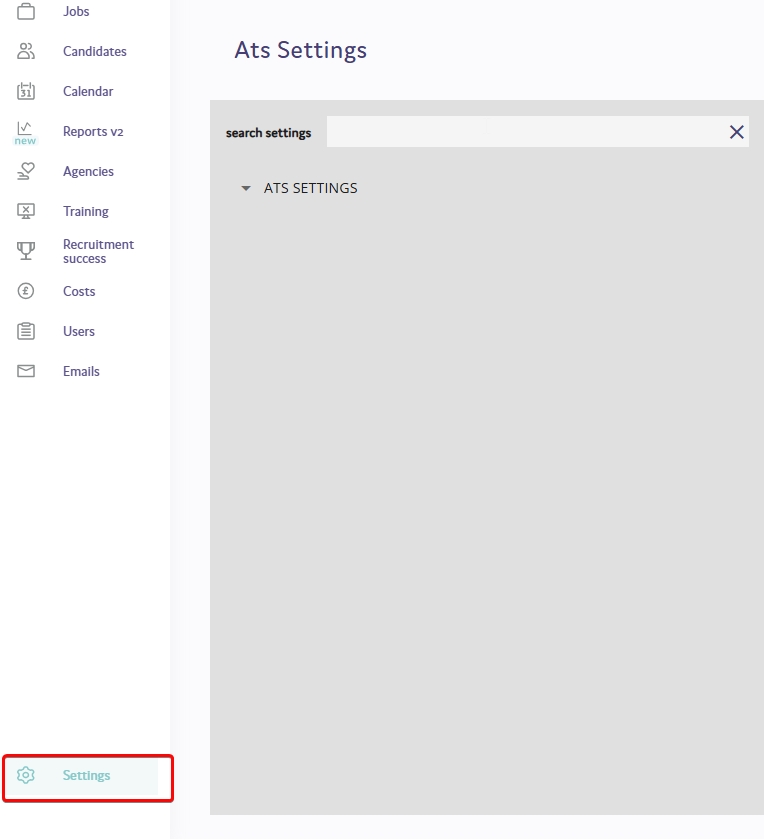
Step 1 – Access Your ATS Settings
First, log into your system as a Recruiter Admin user.
Once logged in, head to your ATS settings section.
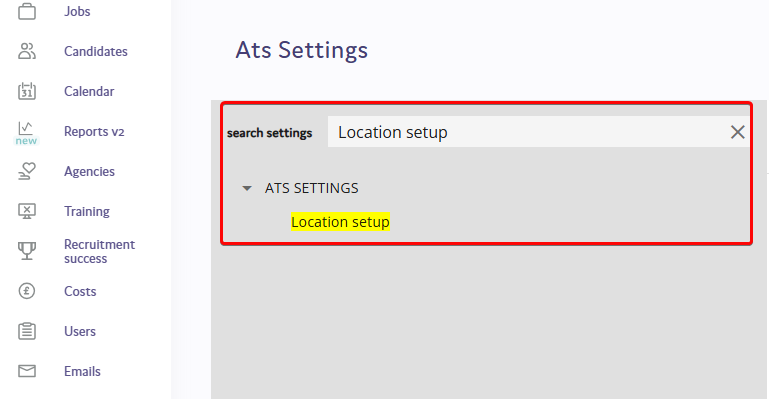
Step 2 – Find the Location Setup Section
There are two ways you can find the Location setup page:
- Use the search bar within ATS settings and type “Location setup”
or
- Use the dropdown menu under ATS Settings and select “Location setup” from the list.
Step 3 – Add a New Location
On the Location setup page, you’ll see an option to ‘Add location’.
Click this to open the page where you can enter your location details.

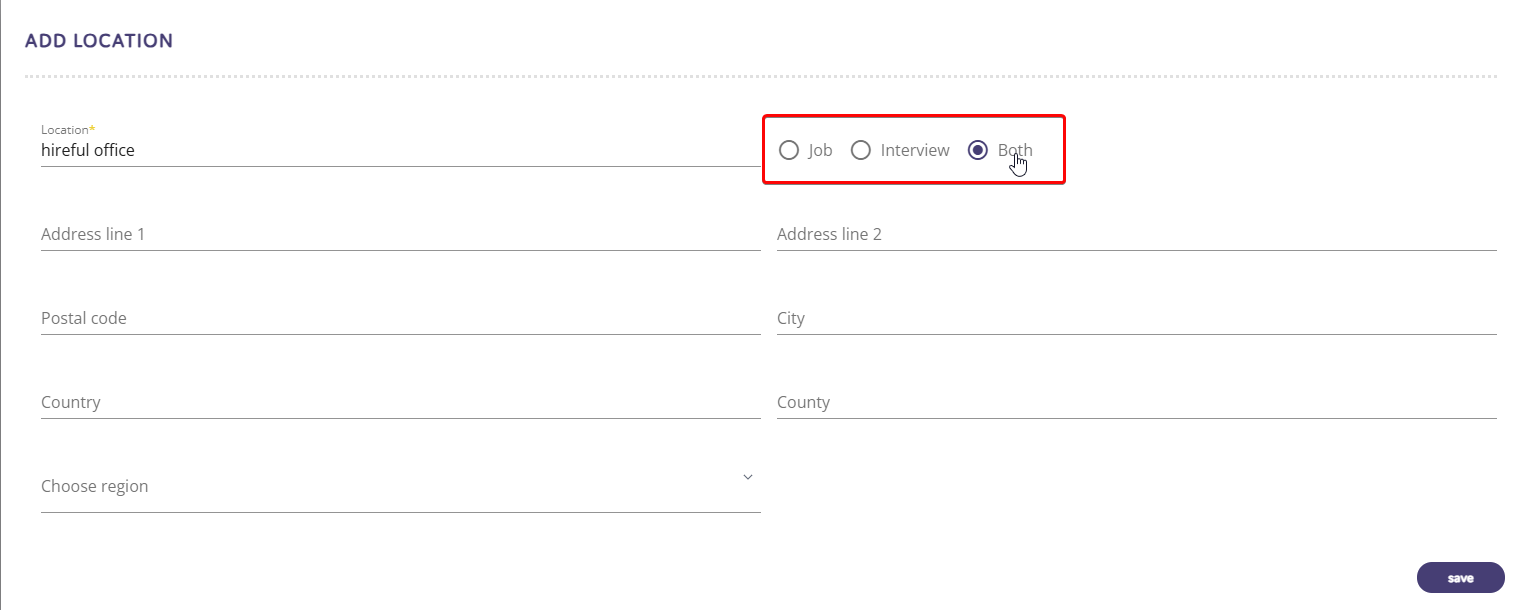
Step 4 – Enter the Location Details
You’ll now see fields where you can enter the location’s name, address, and other details.
Fill these in as required, and set the Location Type:
At the top of the popup box, you can choose how the location will be used:
- Job location – Use this location for job adverts.
- Interview location – Use this location for scheduling interviews.
- Both – Use this location for both jobs and interviews.
Step 5 – Save Your Changes
Once you’ve completed the fields and selected the correct location type, save the location. It will now be available to select when creating jobs or booking interviews.

